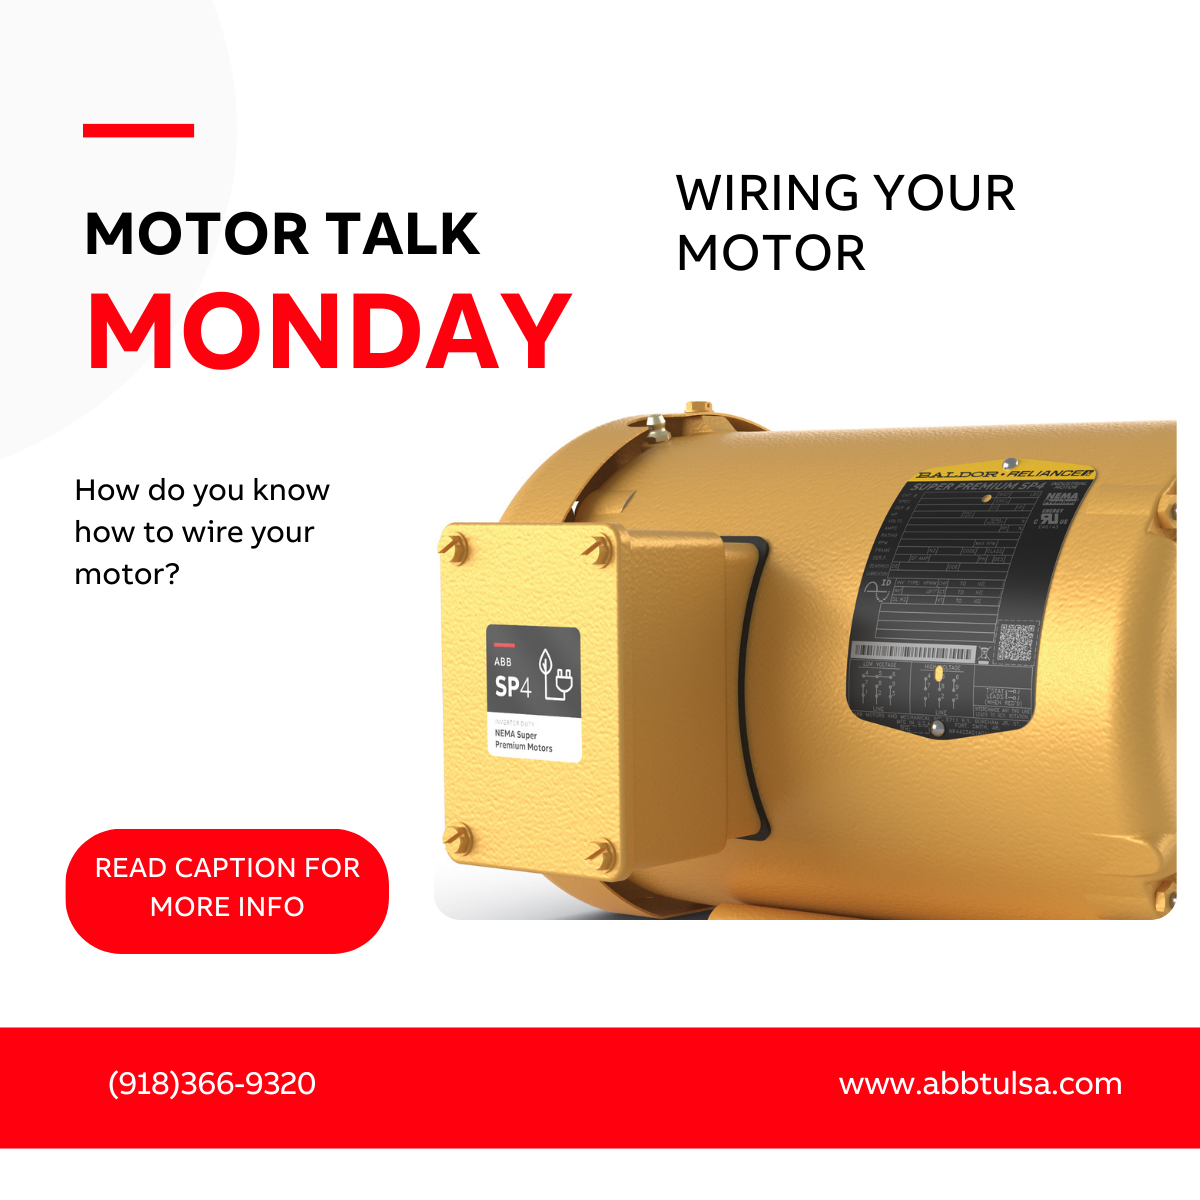
#MotorTalkMonday – wiring your motor
You’ve got a new electric motor, now what? Follow this simple step by step guide to connect your motor and get running fast.
1. Identify the Motor Type
• Single-phase: Often has a start and run winding; can be wired for 115V or 230V.
• Three-phase: Has three main leads plus possible ground; often dual voltage (230/460V).
Each type has a unique wiring diagram, so start by confirming the motor type from the nameplate.
2. Locate the Wiring Diagram
The wiring diagram is typically found:
• On the motor’s nameplate
• Inside the motor’s terminal box
• In the product manual or online resources
3. Understand the Symbols and Labels
• Motor leads are labeled (e.g., T1, T2, T3 for three-phase; L1, L2 for single-phase).
• Lines and dots represent wire connections and junctions.
• Capacitors and switches may be shown for single-phase motors.
• Grounding symbols indicate where to connect the ground wire.
4. Match Voltage and Phase Requirements
Check the diagram for:
• Voltage rating (e.g., 115V, 230V, 460V)
• Phase (single or three)
• Connection type (e.g., Wye or Delta for three-phase)
5. Follow the Connection Instructions
• For single-phase motors, connect start and run windings correctly, often with a capacitor.
• For three-phase motors, connect T1, T2, and T3 to the power supply phases.
6. Safety and Troubleshooting Tips
• Always disconnect power before wiring.
• Use wire nuts and electrical tape for secure connections.
• Refer to the diagram for reversing rotation (usually involves swapping two leads).
• If unsure, consult a licensed electrician.
#ABB #ABBMotors #MotorConnection #EngineeredToOutrun #Outrun